Images
UIImage manages image data.
UIImageView displays a single image or a sequence of animated images.
UIImagePickerController allows to take picture, record movie and choose items from the user's media library.
local images
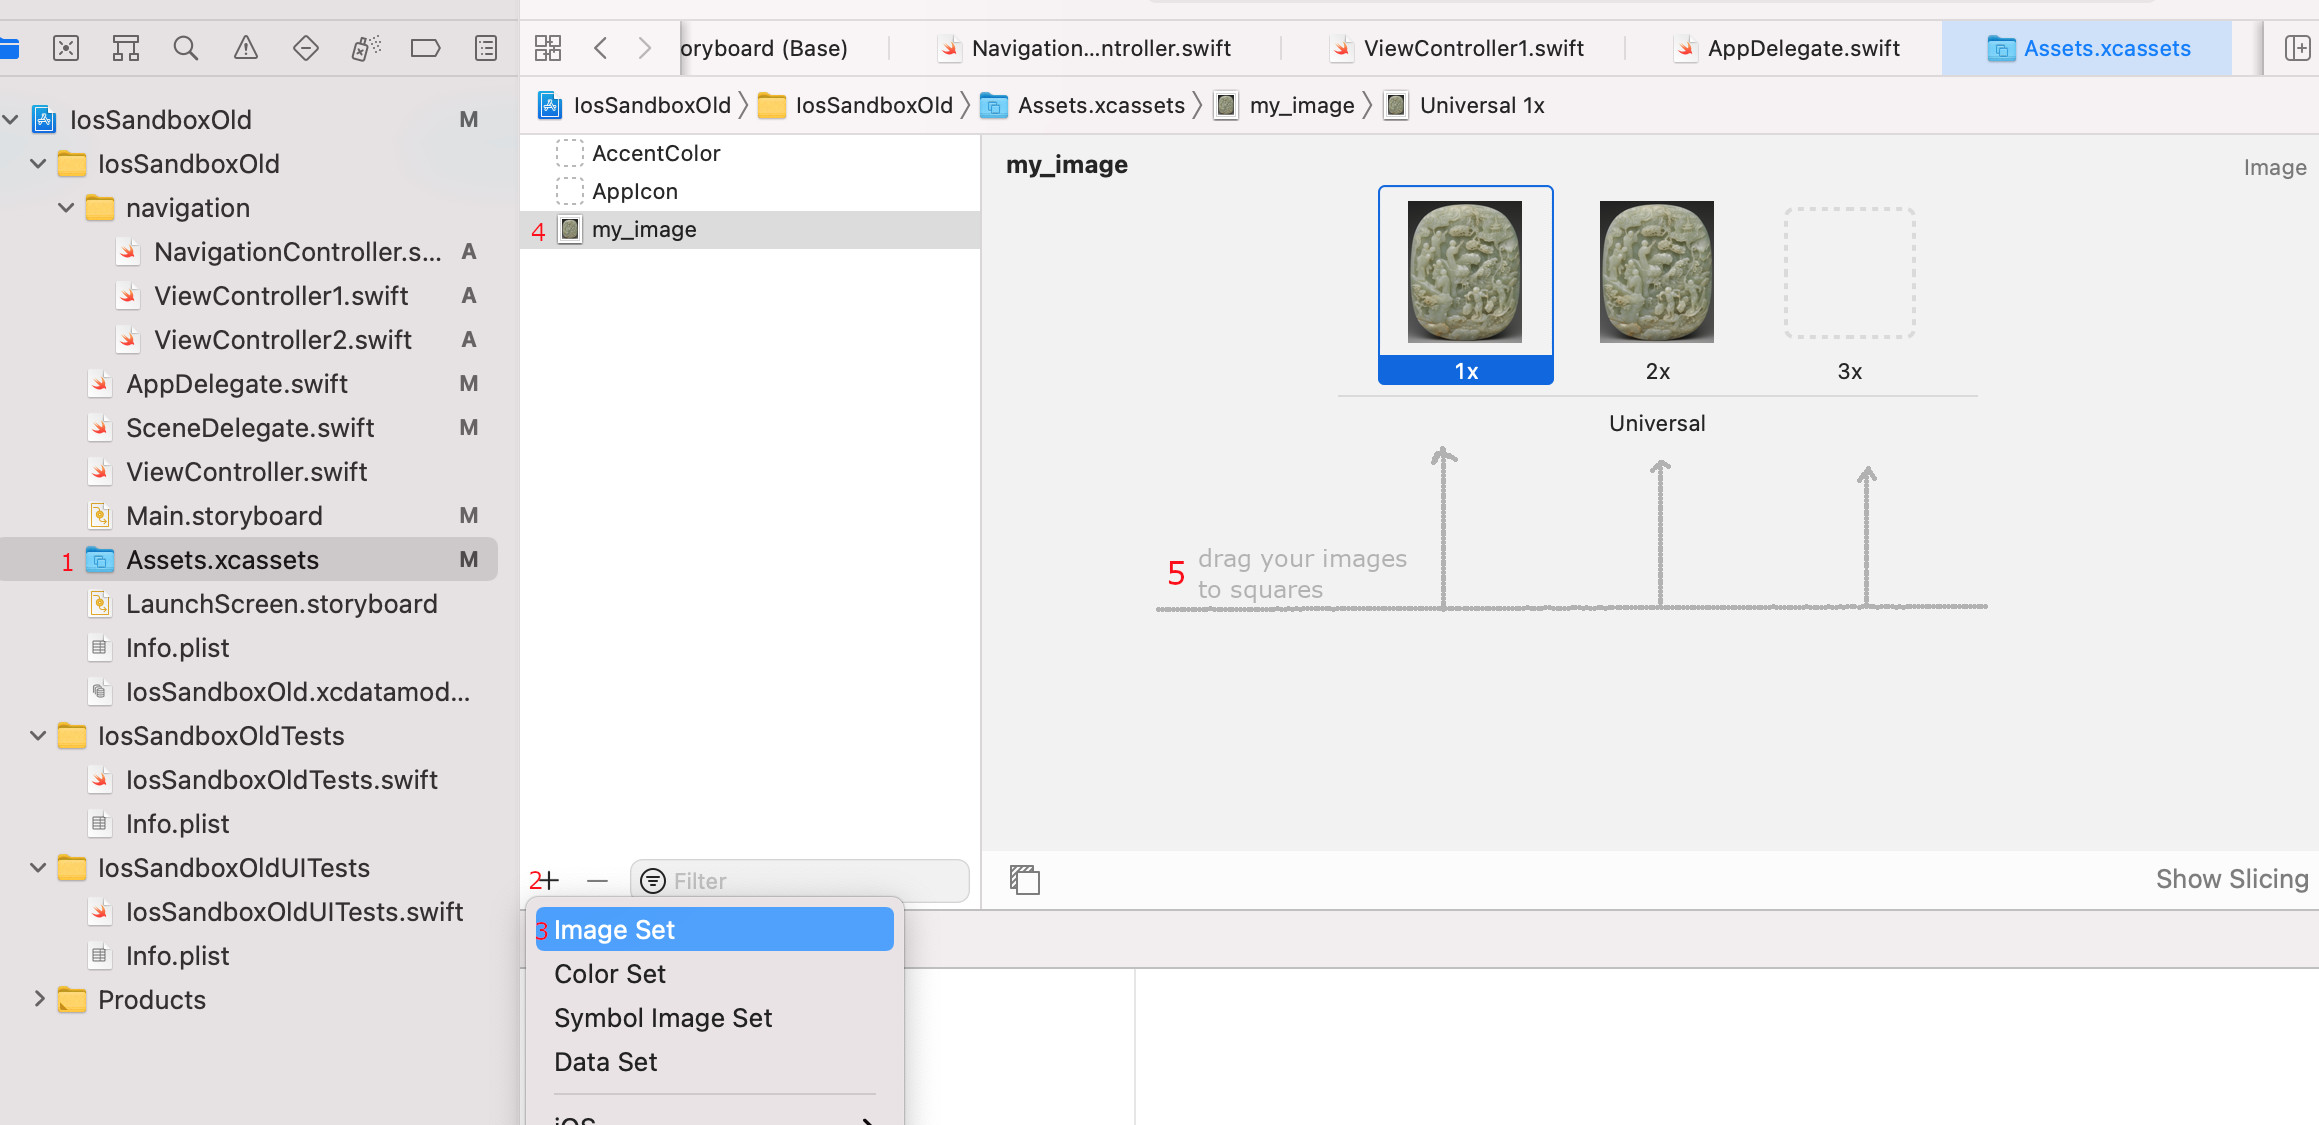
Local icons and images are stored in asset folder. There is a default folder Assets.xcassets.
Recommended formats are *.png and *.jpg.
There are three scale factors. Typically the scale factor is specified in a file name of image:
- @1x - default scale factor, used on screens with standart resolution
- @2x - x2 scale factor, used on devices with medium screen resolution like iPhone 8
- @3x - x3 scale factor, used on devices with high screen resolution like iPhone 7 Plus
iOS will automatically load the correct version of the image based on the screen of the device (my_image.jpg, my_image@2x.jpg or my_image@3x.jpg).
// load image "image.jpg" from asset
// file extension and scale factor can be ommited
let image = UIImage(named : "image")

// assign image to the UIImageView
imageView.image = image
remote images
You can download remote image via Data or URLSession class. But usually developers use libraries like Nuke, that support memory and disk caching. (See Nuke on cocoapods)
extension UIImageView {
    func load(url: URL) {
        DispatchQueue.global().async { [weak self] in
            if let data = try? Data(contentsOf: url) {
                if let image = UIImage(data: data) {
                    DispatchQueue.main.async {
                        self?.image = image
                    }
                }
            }
        }
    }
}

// then use
// imgView.load(url: URL(string: "https://www.example.com/img/myimg.jpg")!)gif images
There are lot libraries to show gif in iOS.
- pod 'SwiftyGif' - swifty gif library
- pod 'FLAnimatedImage', '~> 1.0' - view that support
To show the local gif, you must add gif to your project, usually into directory like "Supporting files" directory.
// show local loader.gif with SwiftyGif
let gif = try! UIImage(gifName: "loader")
lazy var loaderImageView = UIImageView(gifImage: gif, loopCount: -1)

// show remote gif with FLAnimatedImage
lazy var stickerImage: FLAnimatedImageView = .create {
    $0.loopCount = -1
}

Nuke.loadImage(with: url, into: stickerImage)
Also you can add a gif as a sequence of images directly.
extension UIImageView {
    static func fromGif(frame: CGRect, resourceName: String) -> UIImageView? {
        guard let path = Bundle.main.path(forResource: resourceName, ofType: "gif") else {
            print("Gif does not exist at that path")
            return nil
        }
        let url = URL(fileURLWithPath: path)
        guard let gifData = try? Data(contentsOf: url),
            let source =  CGImageSourceCreateWithData(gifData as CFData, nil) else { return nil }
        var images: [UIImage] = []
        let imageCount = CGImageSourceGetCount(source)
        for i in 0 ..< imageCount {
            if let image = CGImageSourceCreateImageAtIndex(source, i, nil) {
                images.append(UIImage(cgImage: image))
            }
        }
        let gifImageView = UIImageView(frame: frame)
        gifImageView.animationImages = images
        return gifImageView
    }
}
size of image
The size property of UIImage can be used to calculate new height of UIImageView.
let ratio = image.size.width/image.size.height
let newHeight = ((imgView.bounds.width ?? 0) / ratio)
// ... update height of UIImageView via constraints or bounds/frame
tint of image
UIImageView, Button, UIBarButtonItem have a tintColor property that allows you to set the tint color for a vector image (*.pdf).
To apply a tint to a bitmap (*.png, *jpg), you need to change the rendering mode.
let image = UIImage(named: "ic-star-outline")!.withRenderingMode(.alwaysTemplate)
myImageView.image = image
myImageView.tintColor = .orange

let backImage = UIImage(named: "back-icon")
let backButton = UIBarButtonItem(image: backImage,
                                 style: .plain,
                                 target: self,
                                 action: #selector(routeBack))
backButton.tintColor = .orange
navigationItem.leftBarButtonItem = backButton