Auto layout
Auto layouting dynamically calculates the size and position of all the views in your view hierarchy, based on constraints placed on those views.
Constraints typically represent a relationship between two views.
Autoresizing masks adapt only to external changes. They do not support internal changes.
layout programmatically
Each UIView comes with a collection of anchor properties that allow you to set up relations between views:
| property | description |
|---|---|
| centerXAnchor | A layout anchor representing the horizontal center of the view’s frame. |
| centerYAnchor | A layout anchor representing the vertical center of the view’s frame. |
| leadingAnchor | A layout anchor representing the leading edge of the view’s frame. |
| trailingAnchor | A layout anchor representing the trailing edge of the view’s frame. |
| leftAnchor | A layout anchor representing the left edge of the view’s frame. |
| rightAnchor | A layout anchor representing the right edge of the view’s frame. |
| topAnchor | A layout anchor representing the top edge of the view’s frame. |
| bottomAnchor | A layout anchor representing the bottom edge of the view’s frame. |
| widthAnchor | A layout anchor representing the width of the view’s frame. |
| heightAnchor | A layout anchor representing the height of the view’s frame. |
| firstBaselineAnchor | A layout anchor representing the baseline for the topmost line of text in the view. |
| lastBaselineAnchor | A layout anchor representing the baseline for the bottommost line of text in the view. |
To make constraint, you can use following methods of anchor:
- constraint(equalTo:) - create a constraint that defines one item’s attribute as equal to another
- constraint(equalTo:, constant:) - create a constraint that defines one item’s attribute as equal to another item’s attribute plus a constant offset
- constraint(greaterThanOrEqualTo) - create a constraint that defines one item’s attribute as greater than or equal to another
- constraint(greaterThanOrEqualTo:, constant:) - create a constraint that defines one item’s attribute as greater than or equal to another item’s attribute plus a constant offset
- constraint(lessThanOrEqualTo:) - create a constraint that defines one item’s attribute as less than or equal to another
- constraint(lessThanOrEqualTo:, constant:) - create a constraint that defines one item’s attribute as less than or equal to another item’s attribute plus a constant offset
// adding constraints programmatically
NSLayoutConstraint.activate([
  view1.centerXAnchor.constraint(equalTo: view2.centerXAnchor),
  view1.centerYAnchor.constraint(equalTo: view2.centerYAnchor),
  // ... other constraints
])

// directly instantiating constraints
NSLayoutConstraint(item: myView,
                   attribute: .leading,
                   relatedBy: .equal,
                   toItem: view,
                   attribute: .leadingMargin,
                   multiplier: 1.0,
                   constant: 0.0)
                   .isActive = true
1. When programmatically instantiating views, be sure to set their translatesAutoresizingMaskIntoConstraints property to false. By default, the system automatically creates a set of constraints based on the view’s frame and its autoresizing mask. When you add your own constraints, they inevitably conflict with the autogenerated constraints.
2. When you activate a new constraint, it will be added to the current constraints. Therefore, if necessary, you should remove the previous constraint, for example, in a reusable cell with a dynamic layout.
let multiplier = 1.0 / CGFloat(post.image.proportion)

// search and remove previous height constraint
if let heightConstraint = (image.constraints.filter{$0.firstAttribute == .height}.first) {
    image.removeConstraint(heightConstraint)
}

// resize image for new aspect ratio
image.heightAnchor.constraint(equalTo: contentView.widthAnchor, multiplier: multiplier).isActive = true
3. Some constraints of view are stored in a parent view.
layout with IB
The Pin tool lets you quickly define a view’s position relative to its neighbors or quickly define its size. Select the item whose position or size you want to pin, and click the Pin tool.
To use constraints check is layout mode for your element is not autoResizingMask. It should be inferred(xxx):
- inferred (AutoResizingMask) - before adding any constraints
- inferred (Constraints) - after adding any constraint
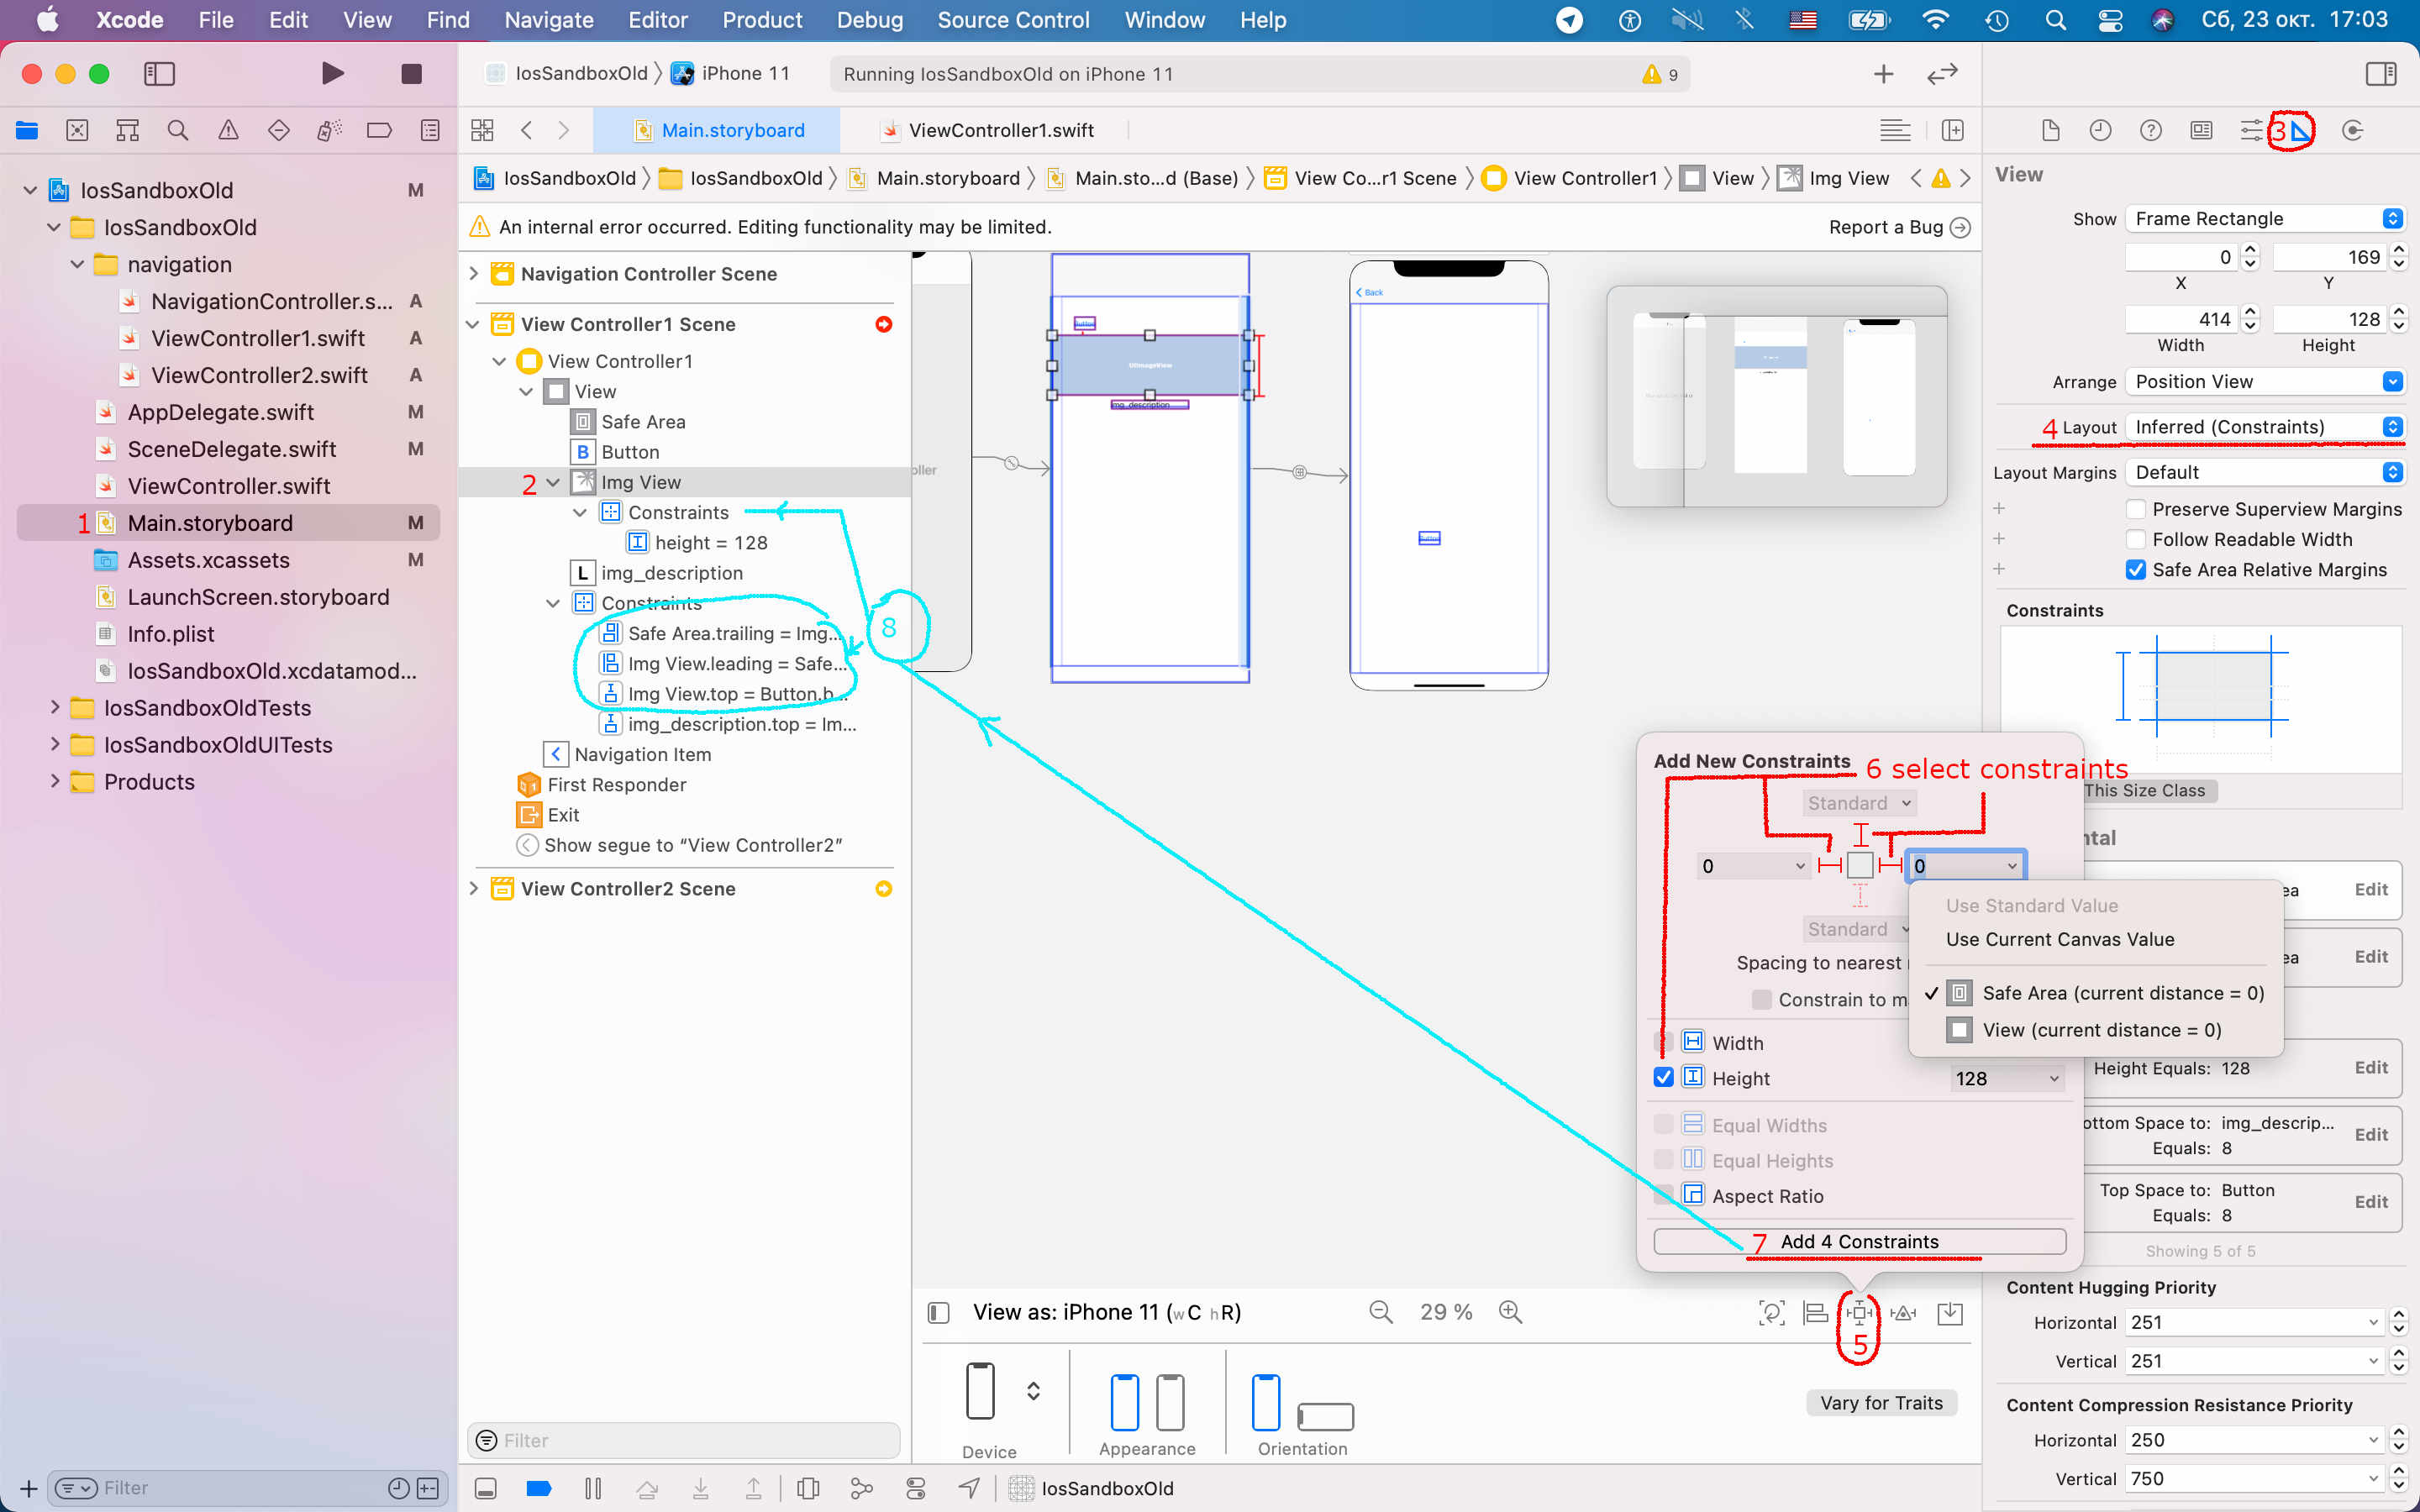
The Align tool lets you quickly align items in your layout. Select the items you want to align, and then click the Align tool.
To select items use Shift / Cmd + mouse click.
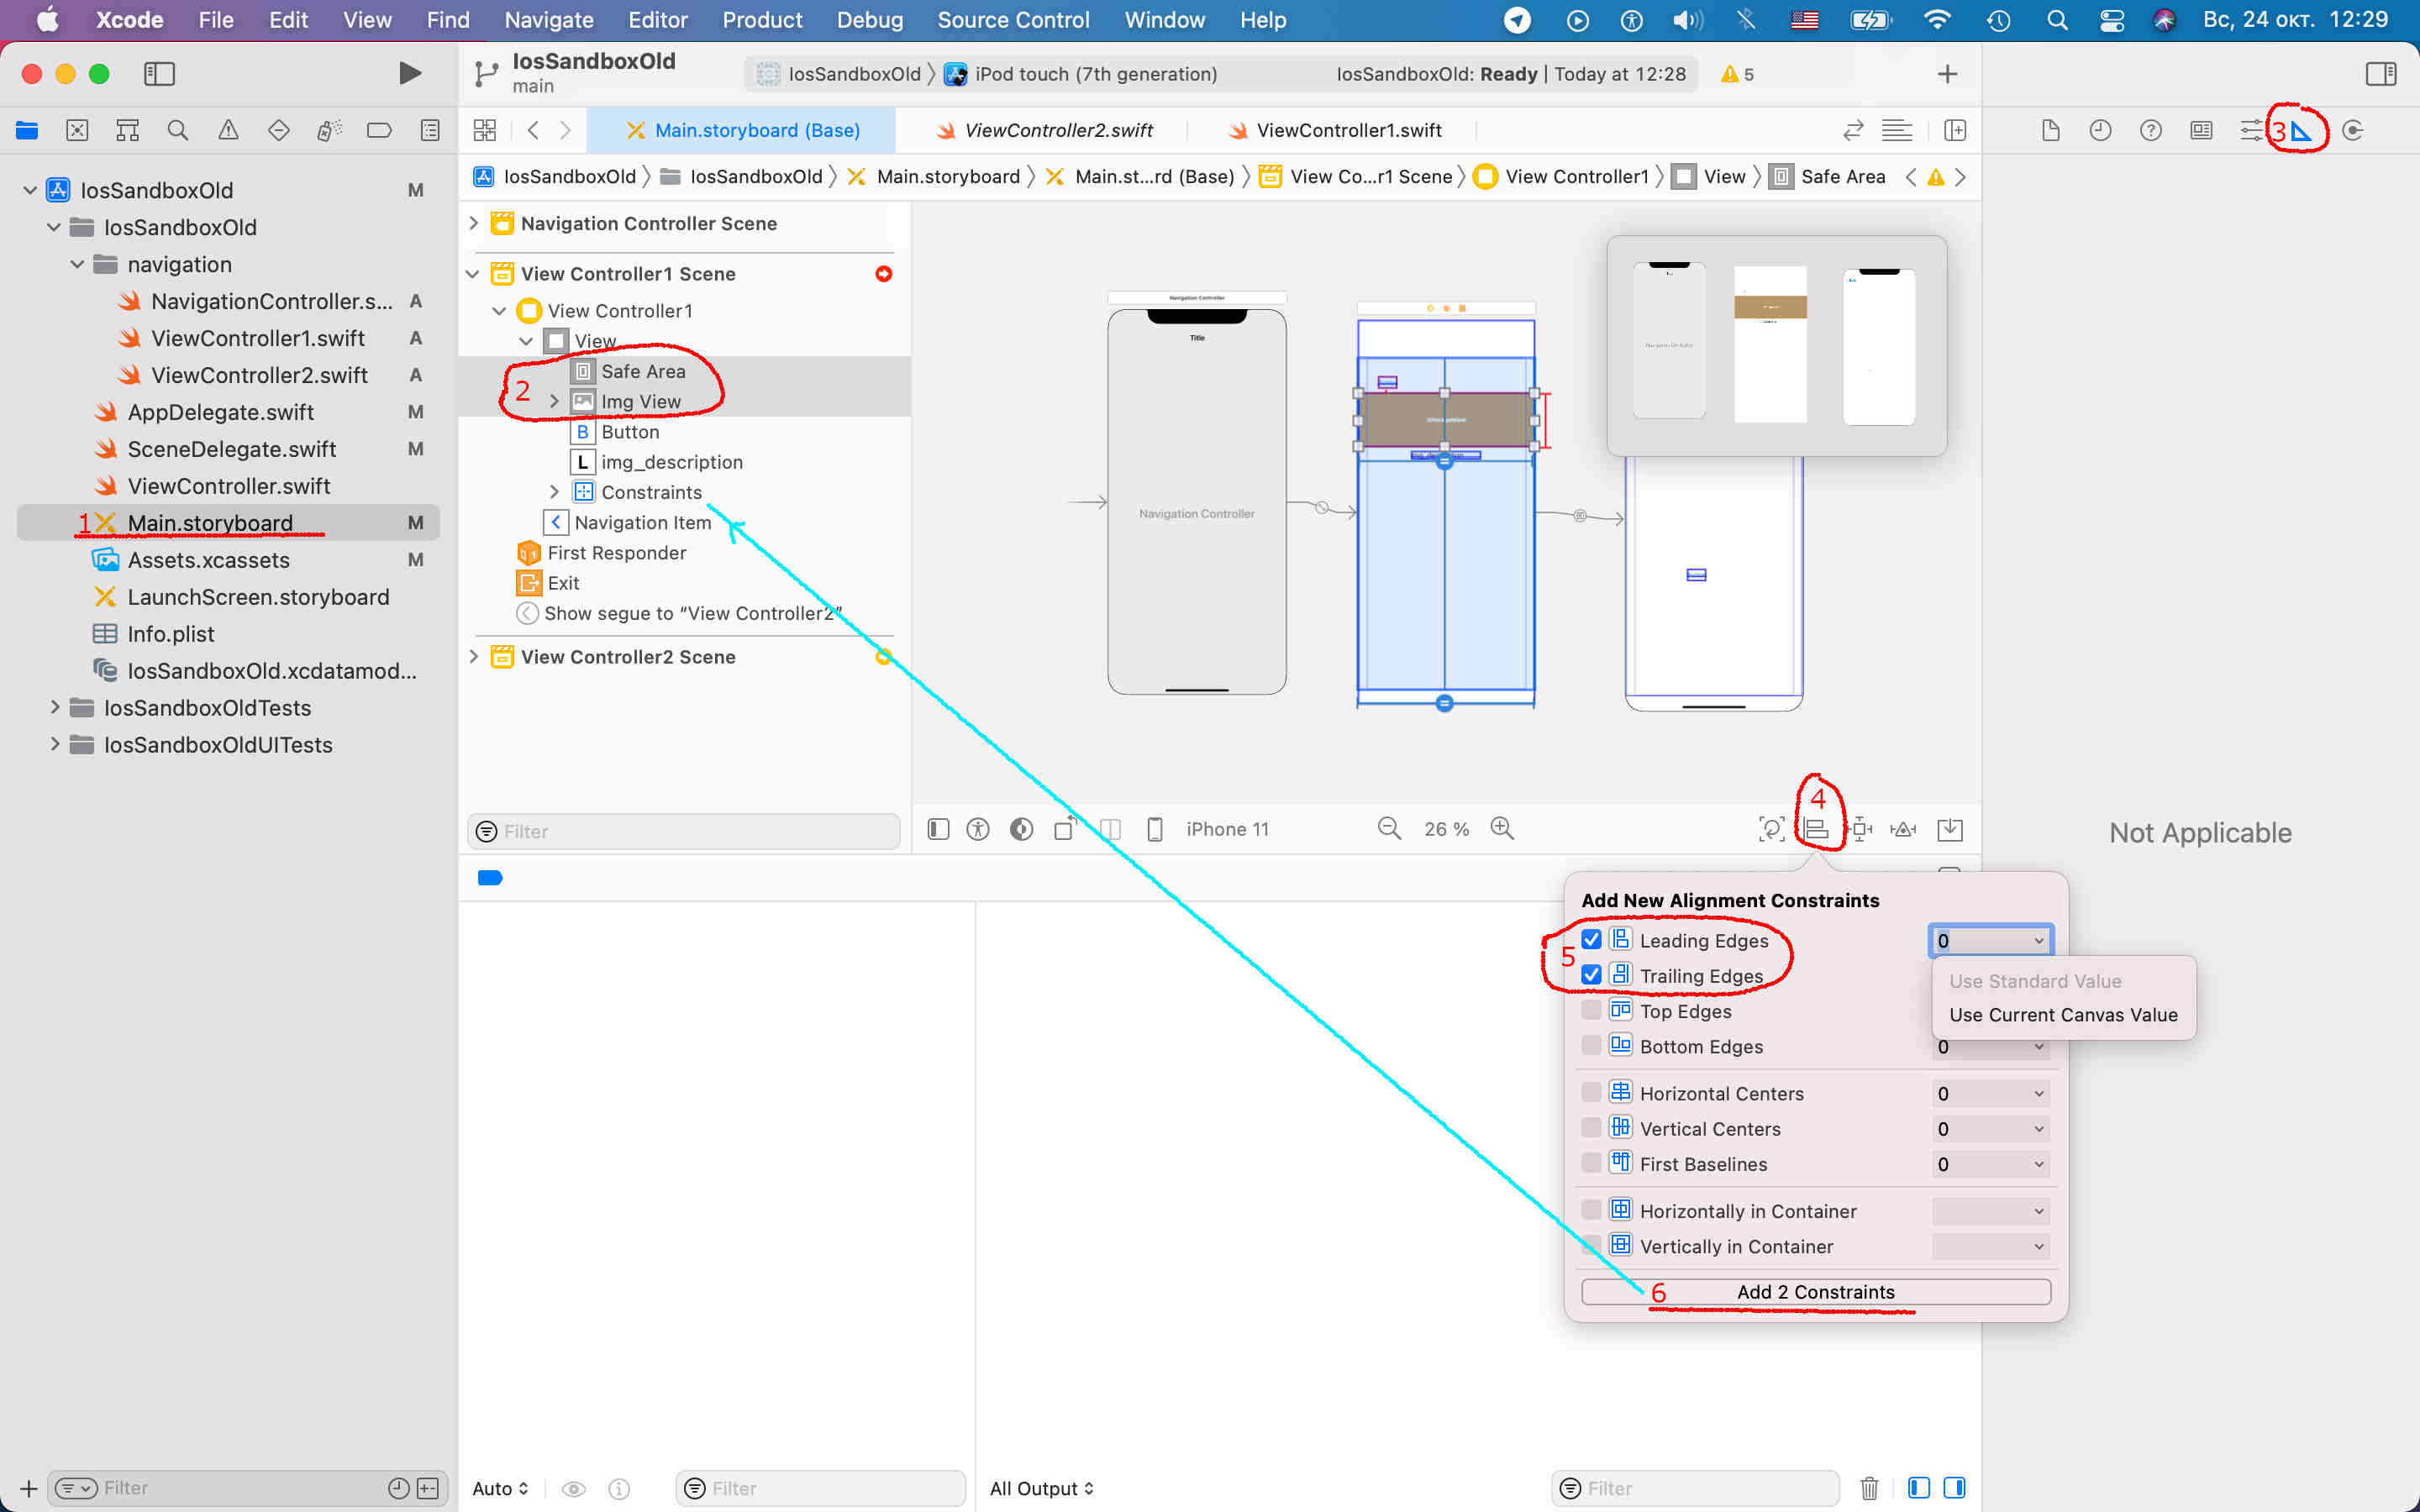
Once you add constraint you can modify it at any time.

intrinsic size
Layout system uses a intrinsicContentSize property of view, to define default size.
This intrinsic size must be independent of the content frame, because there’s no way to dynamically communicate a changed width to the layout system based on a changed height, for example.
If a custom view has no intrinsic size for a given dimension, it can use noIntrinsicMetric for that dimension.
layout examples
Set top position related to the parent height in percent.
// top position is aligned to the quater height of parent
NSLayoutConstraint(item: child,
    attribute: .top,
    relatedBy: .lessThanOrEqual,
    toItem: parent,
    attribute: .bottom,
    multiplier: 0.25,
    constant: 0.0).isActive = true
To wrap content vertically the top of the first element should be aligned to the parent top and the bottom of the last element is aligned to the parent bottom. Next, you can center the parent in its parent view, because height is defined.
NSLayoutConstraint.activate([
  child1.topAnchor.constraint(equalTo: parent.topAnchor),
  // ...
])

NSLayoutConstraint.activate([
  child2.topAnchor.constraint(equalTo: child1.bottomAnchor),
  // ...
])

NSLayoutConstraint.activate([
  child3.topAnchor.constraint(equalTo: child2.bottomAnchor),
  child3.bottomAnchor.constraint(equalTo: parent.bottomAnchor),
  // ...
])

parent.centerYAnchor.constraint(equalTo: root.centerYAnchor).isActive = true