Cells
UITableViewCell class responds for the visual representation of a single row in a table view. It has predefined types:
- .default - a simple view with one line of black text
- .value1 - a simple view with one line of black text on the left, and a small blue label on the right like in the Settings app
- .value2 - a simple view with one line of black text on the right, and a small blue label on the left like in the Contacts app
- .subtitle - a simple view with one line of black text, and a smaller line of gray text below it
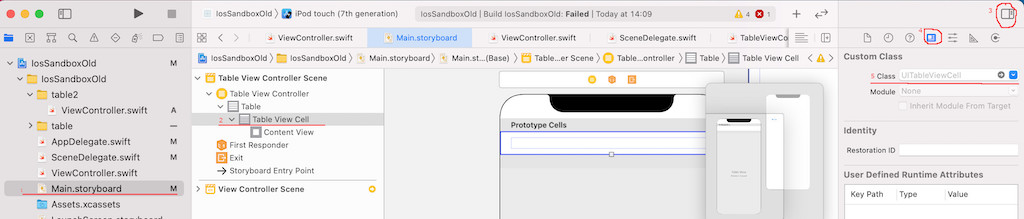
Xcode provides one prototype cell for each table, and you can add more prototype cells as needed. If necessary specify an actual UITableViewCell subclass.
cell reusing
You can reuse cells to improve performance. For that you’ll need to register them with the table view. This can be done in two ways:
- provide a table view cell class and an identifier
- provide a table view cell XIB and an identifier
override func viewDidLoad() {
     super.viewDidLoad()
     // ...
     tableView.register(UITableViewCell.self,
                        forCellReuseIdentifier: "cellIdentifier")

     // use it when cell defined in XIB file
     // tableView.register(UINib(nibName: "yourNib", bundle: nil),
     //                          forCellReuseIdentifier: "CellFromNib")
}

func tableView(_ tableView: UITableView,
                      cellForRowAt indexPath: IndexPath) -> UITableViewCell {

    let cell = tableView.dequeueReusableCell(withIdentifier: "cell",
                                             for: indexPath)
    // ...
    return cell
}
If you want to reuse cell defined in storyboard you need to specify identificator.

dynamic heights
If the row heights are not all the same, or can change dynamically, provide the heights using the tableView(_:heightForRowAt:) method of your delegate object.
override func tableView(_ tableView: UITableView,
           heightForRowAt indexPath: IndexPath) -> CGFloat {
   // Make the first row larger to accommodate a custom cell.
  if indexPath.row == 0 {
      return 80
   }


   // Use the default size for all other rows.
   return UITableView.automaticDimension
}
click on row
To handle click on row override tableView(_ tableView: UITableView, didSelectRowAt indexPath: IndexPath) method.
// be sure that tableView.allowsSelection = true

override func tableView(_ tableView: UITableView,
                        didSelectRowAt indexPath: IndexPath) {
    // ... do something, for example show details
    print(rowsTxt[indexPath.row])
}
interactive cell
1. You can create a protocol to allow a cell call an action from controller.
class MyViewCell: UITableViewCell {
     var cellData: SomeDataType?
     var delegate: MyViewCellProtocol? = nil

    override init(style: UITableViewCell.CellStyle, reuseIdentifier: String?){
        super.init(style: style, reuseIdentifier: reuseIdentifier)

        // isUserInteractionEnabled = true
        button.addTarget(nil, action: #selector(didTapOnButton), for: .touchUpInside)
        // ... other code
    }

    @objc private func didTapOnButton(_ sender: UIButton){
        delegate?.didTapOnButton(data: cellData)
    }
// ...
}
2. Add elements of cell to the contentView, not to the cell itself.
// addSubview(button)
contentView.addSubview(button)